

by Alexander Frolov , updated on June 5, 2024
Let's delve into the ins and outs of how to effectively create and manage your email accounts within the new Outlook app.
Microsoft Outlook has long been a popular choice for email management. As users make the switch to the new app, they're greeted with a refreshed interface that emphasizes modern design and ease of use. Whether you're adding a work account or consolidating personal emails, the new Outlook app caters to your needs with its intuitive and user-friendly approach.
You can start with the new Outlook in two ways: make the switch from the classic Outlook, Mail and Calendar apps, or download it from the Microsoft Apps Store and install as a separate application. Depending on your method of installation, the process may vary:
The new Outlook can manage up to 10 email accounts, including Microsoft 365 Exchange accounts, IMAP, and POP.
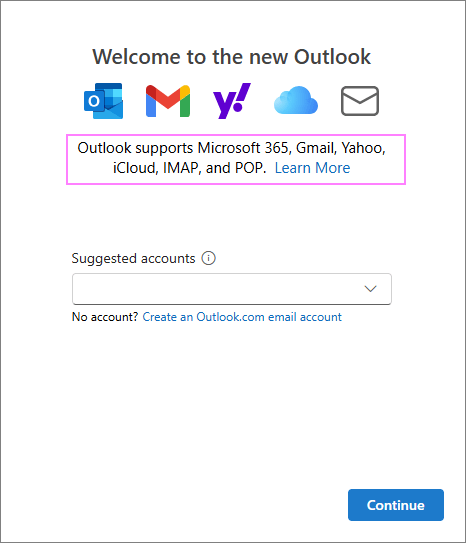
The new Outlook for Windows supports a variety of account types to accommodate diverse user needs. These include:
Currently, the new Outlook app has several limitations related to cross-account functionality:
Additionally, if you attempt to change the From address while composing a new email or replying to an existing one, the app will open a new compose window using the selected account.
While these limitations may affect certain workflows, the new Outlook app continues to evolve, and future updates may address these constraints. For now, understanding these limitations can help tailor your email management strategies accordingly.
When installing the new Outlook, it will guide you through the process of creating an account right from the start. Here's how to get set up:


Password and verification. If prompted, enter the password for the account you're adding and click Continue. Depending on your email provider, you may need to follow additional prompts to verify and set up your account.

Finalizing setup. Allow Outlook a moment to finalize the setup and sync your emails, contacts, and calendar events. You'll see a progress screen as Outlook prepares your account.
Once the setup is complete, your account will appear in the folder pane on the left side of Outlook, ready for use.
Like the classic Outlook, the new app allows you to add multiple email accounts. Adding a new account is quick and straightforward:


Note. Some email providers, like Gmail, iCloud and Yahoo require to enable some settings on their websites to allow integrating these accounts into third-party email clients. So, before attempting to add these accounts to Outlook, check the specific requirements of the email provider and adjust your settings accordingly.
As an example of creating a third-party email account, let's walk through the steps to add a Gmail account to the new Outlook.
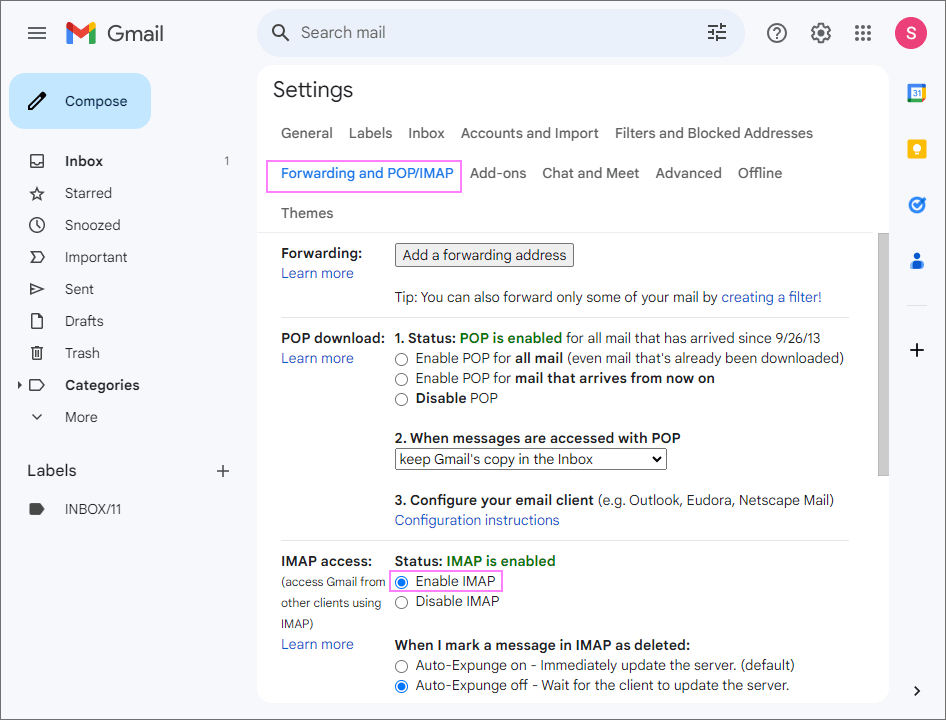
To configure Gmail with a third-party email client such as Outlook, it's essential to enable IMAP access in your Google account. While this setting is typically turned on by default, it's always a good idea to verify.
This will allow IMAP access for your Gmail account, making it compatible with Outlook and other email clients.
To add a Gmail account to the new Outlook, follow these steps:
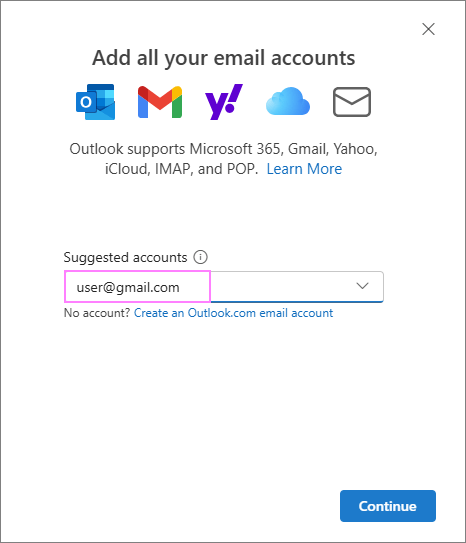 Enter your Gmail address." width="466" height="543" />
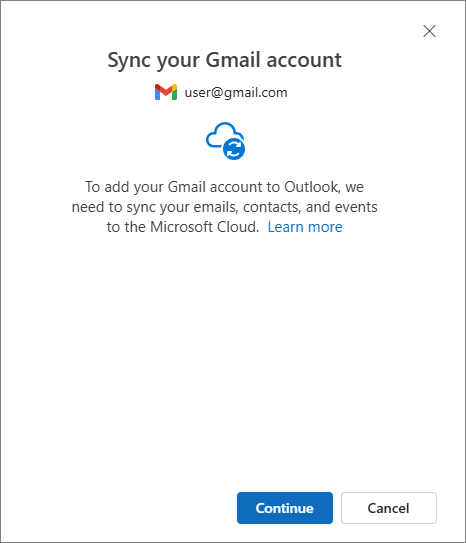
Allow Outlook to sync your Gmail items to the Microsoft Cloud.
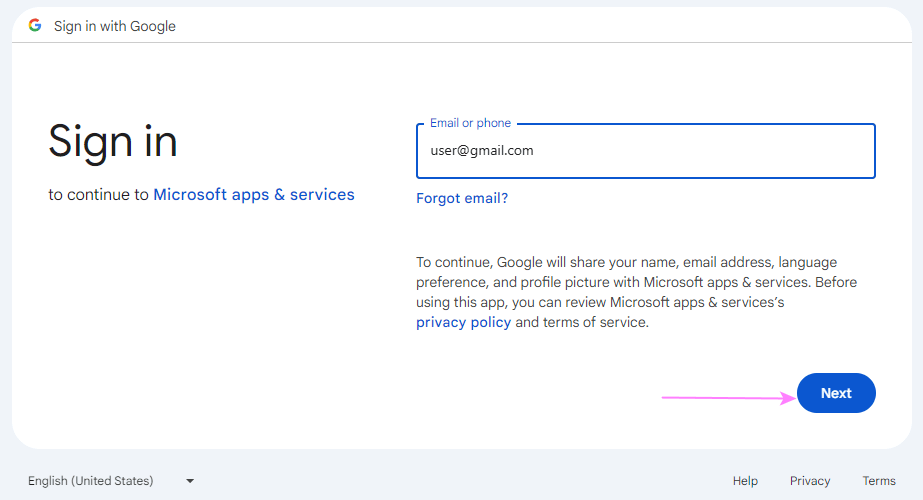
Proceed to sign in with Google.
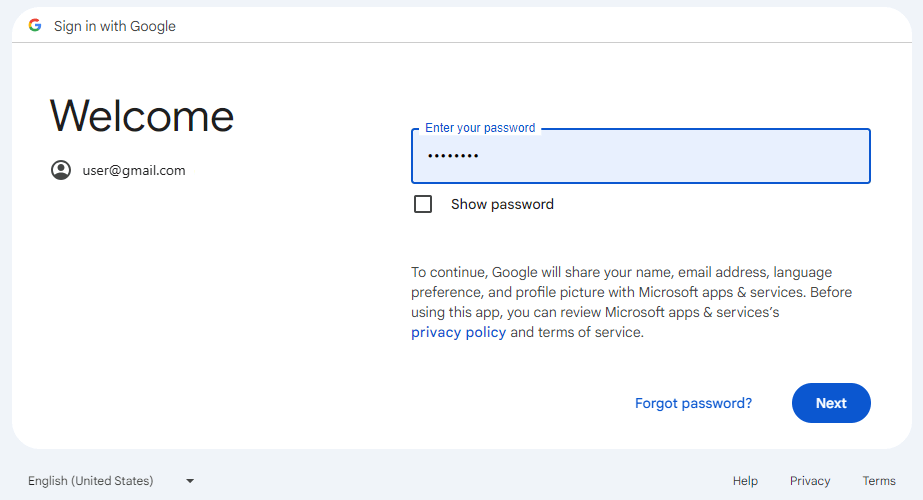
Enter the password for your Google account.
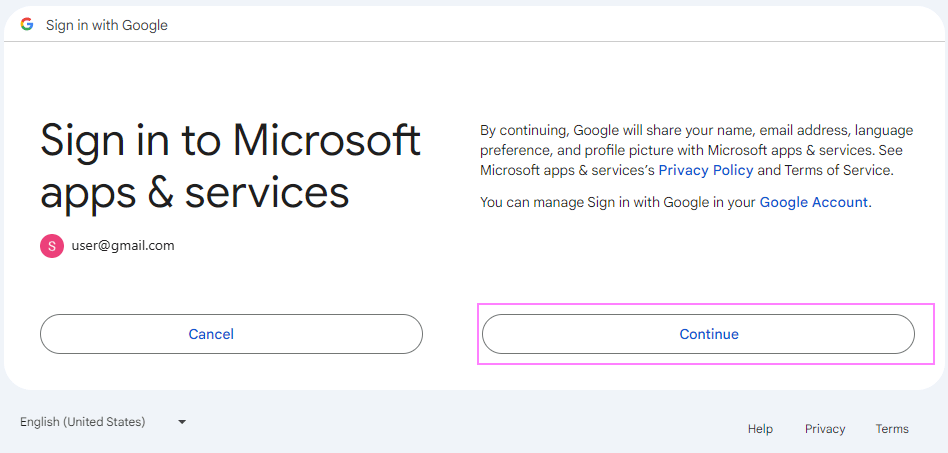
Sign in to Microsoft Apps and services and click Continue to proceed.
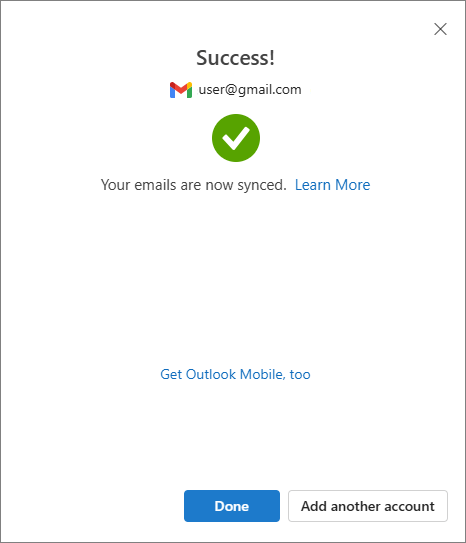
After successful syncing, you'll see a confirmation message. Click Done to finish.
It may take a couple of minutes for Outlook to complete the synchronization process. Once done, you will see all your Gmail folders in the left pane, fully integrated into your new Outlook experience.
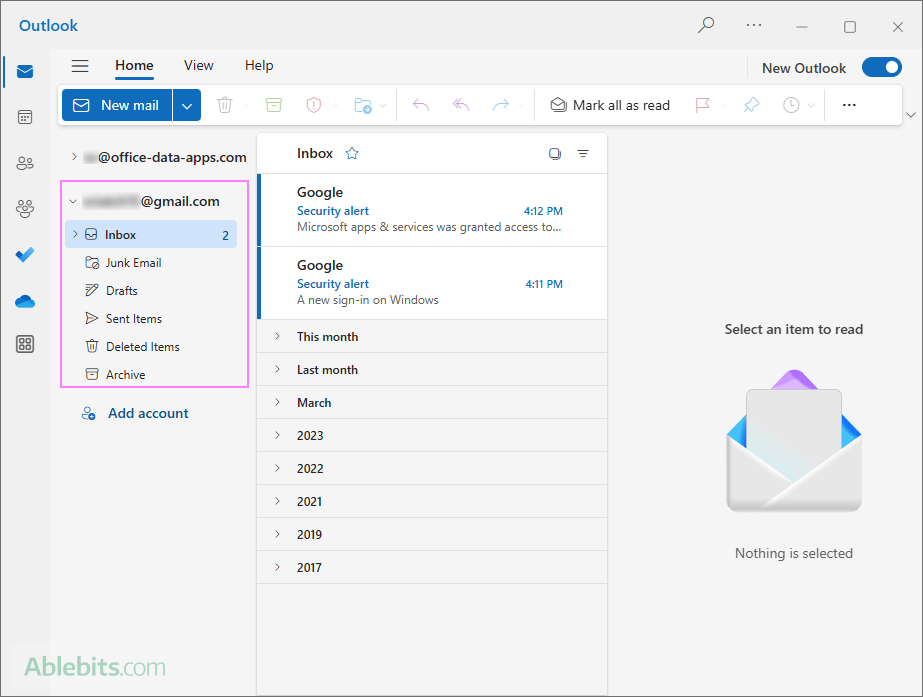
If you need to remove an email account from the new Outlook, here's how you can do it:
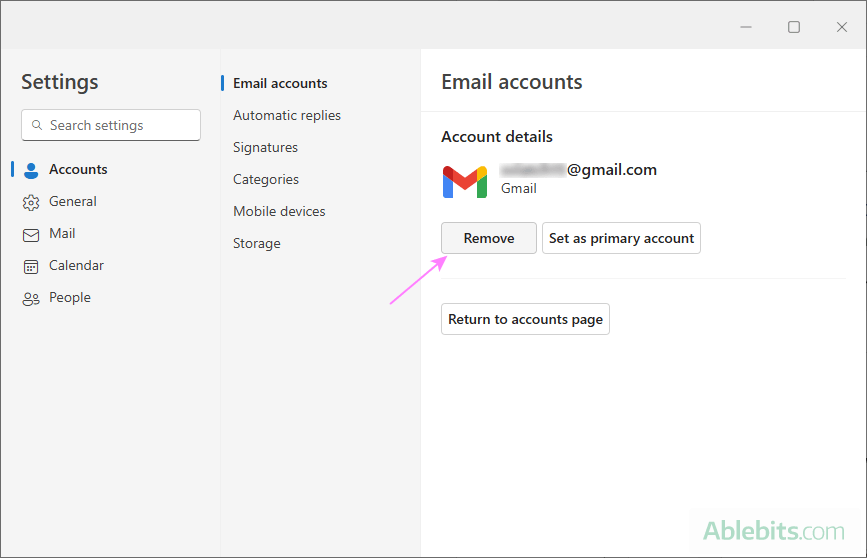
After completing these steps, the account will be deleted from Outlook, and you will no longer have access to its emails, contacts, or calendar events through the new Outlook app.
Navigating multiple email accounts in the new Outlook can be a bit challenging, especially when it comes to monitoring new emails across different accounts. Here's how to manage them more effectively:
Upon opening the new Outlook app, the primary account displays its full list of folders by default. All other account folders are collapsed, showing only the email addresses. This setup can be inconvenient as it doesn't allow for monitoring new messages at a glance without clicking on each account to view its inbox.
Unfortunately, the new Outlook app does not feature a Unified Inbox, which would allow you to view all your inboxes combined in a single window.
To mitigate this limitation, you can add all the inboxes to Favorites, which will then appear at the top of the folders pane. Here's how to do it:
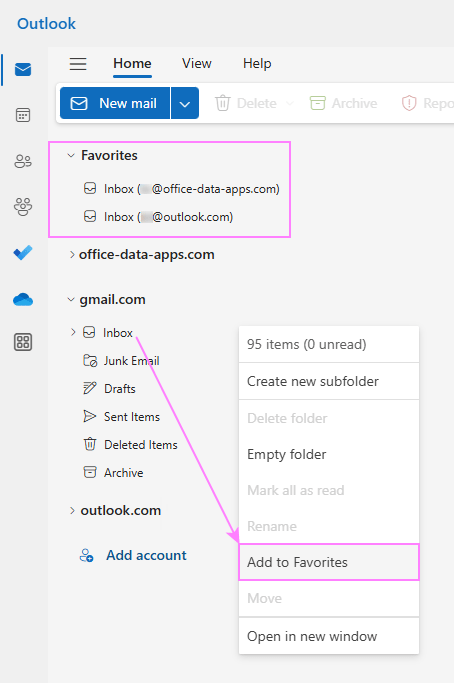
Additionally, you can customize your Favorites by removing the folders that are added by default but are not really needed. To do this, right-click the unwanted folder, and then choose Remove from Favorites.
While this workaround isn't perfect, it does provide a centralized location for all your inboxes, allowing you to quickly see when a new message arrives without the need to open each individual account.
In the new Outlook, shared and delegated mailboxes can be accessed with ease.
A mailbox shared by the administrator of your Microsoft Exchange account will appear in your Outlook automatically without requiring any additional action on your part.
In the new Outlook for Windows, shared mailboxes are added at the bottom of the folder list within the account that has shared permissions. Just look for the Shared with me item and click on it to expand. You'll find the shared mailbox there.

If a folder was shared with you by another user, you will need to add it manually:


Enter the name or email address of the person who has shared the folder with you and click Add.
The shared folder should now appear in your Outlook, ensuring efficient collaboration within your team.
And there you have it – your comprehensive guide on setting up email accounts in the new Outlook for Windows. With these tips and tricks up your sleeve, you're now ready to master your email management in the new Outlook.